Patron Import Converter: Advanced Options
When configuring the Patron Import Converter, Field Mapping lets you create custom formatting to meet your needs.
On the Field Mapping tab, click the drop-down under Format.
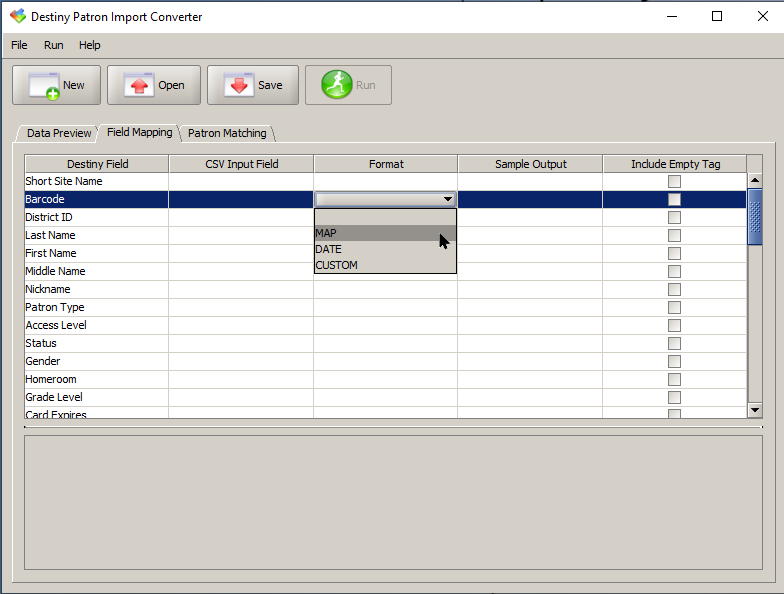
You can select:
- MAP to change the incoming CSV field values to those that Destiny uses.
- DATE to change the format to MM/DD/YYYY for use in Destiny.
- CUSTOM to apply special processing, such as concatenation or added text.
What do you want to do?
- In the Format column in the row you want to change, select MAP.

Important: Follett recommends using Site Short Name or Alias to map Site Short Name. The Field Mapping Values pop-up appears.
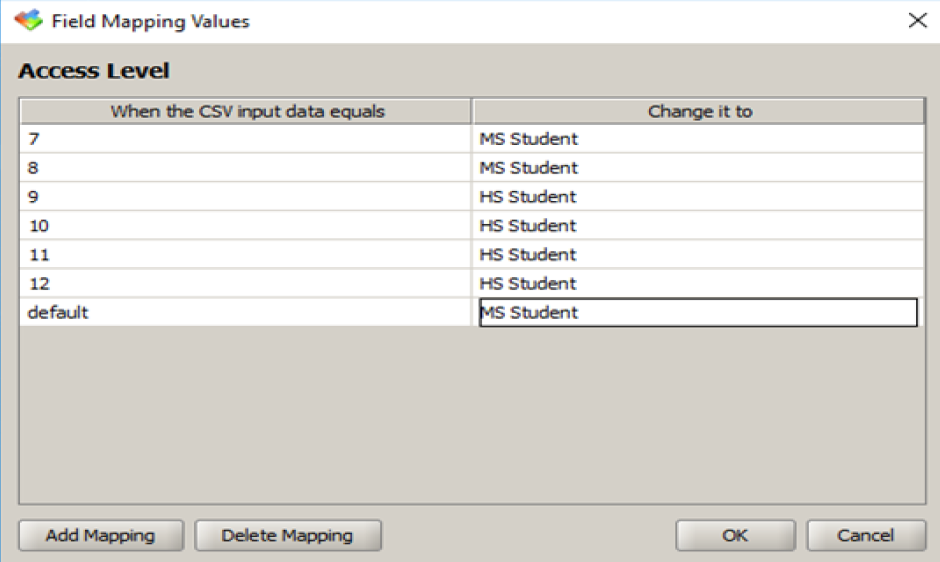
- Click Add Mapping.
- For each row:
- In the When the CSV input data equals field, enter the value from the CSV file.
- In the Change it to field, enter the replacement value.
- (Optional) To define a default value if the CSV data does not match any other defined mapping values, enter default in the When the CSV input data equals field, and a value in the Change it to field.
- Repeat steps 2 - 4 to add additional mapping.
- Click OK to close the pop-up.
Notes:
- To verify your mapping, select any of the fields in the bottom pane of the Field Mapping tab, and then check its mapped value in the Sample Output column.
- If you need to reopen the Field Mapping Values pop-up, click the field name in the Destiny Field column on the Field Mapping tab.
Example: Your CSV file contains the numbers 7 through 12 in a Grade Level field, and you have mapped this field to Grade Level in Destiny.
If the MS Student Access Level and HS Student Access Level exist in Destiny, you can also map this field to them:
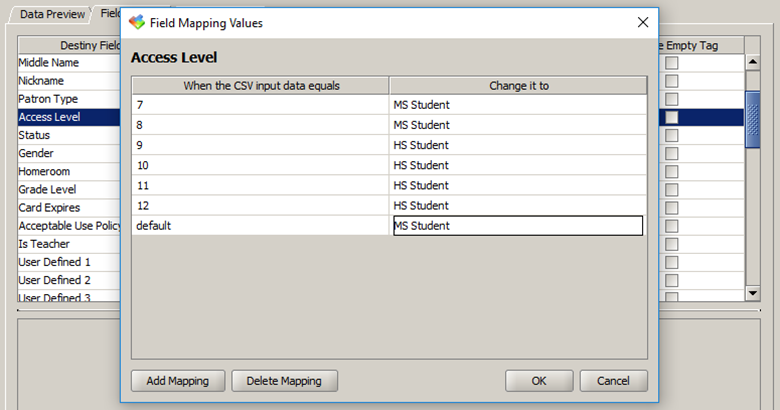
- You can MAP 7 and 8 to MS student, and 9 through 12 to HS student. The upload then assigns the MS Student Access Level to all 7th and 8th graders and HS Student Access Level to all 9th to 12th graders.
- In case any incoming records do not contain a Grade Level, you could also define a default value of MS Student.
- For a field containing a date, click in its Format column and select DATE from the list that appears. The Choose Date Format pop-up appears.
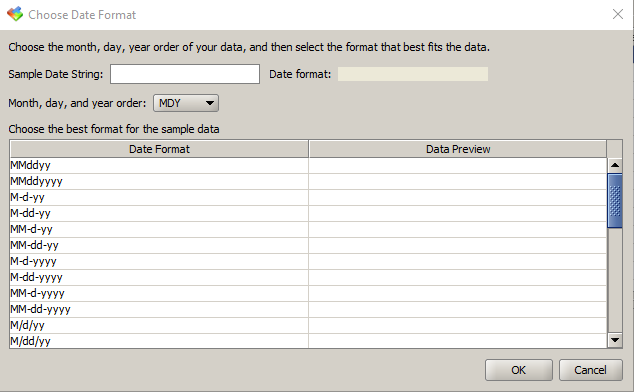
- Review the Sample Date String from the CSV file and, from the Month, day, and year order drop-down, select the order.
- In the Date Format column, select the format that best matches the CSV file.
- Click OK to close the pop-up.
Notes:
- To verify your choice, select any of the fields in the bottom pane of the Field Mapping tab, and then check its date in the Data Preview column.
- To reopen the Choose Date Format pop-up, click the field name in the Destiny Field column.
Literal fields do not change and apply to all patrons.
-
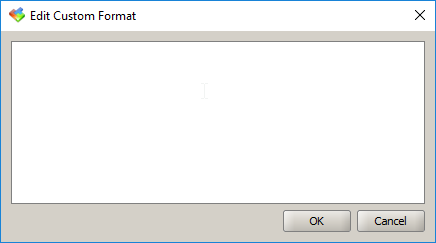
On the Field Mapping tab, under Format, select CUSTOM without choosing a CSV Input Field. The Edit Custom Format pop-up appears.
- Enter the text you want to appear in the field.
Important: Do not add quotation marks or CDATA statements. The Patron Import Converter inserts the necessary CDATA statements into the XML file.
- Click OK.
Example: You only have one site in Destiny and do not have the required Site Short Name field in your CSV file. Each patron will be in Main Street High School (Site Short Name = MSHS).
All patrons will be given a MSHS Site Short Name in the XML.
You can combine fields in the Edit Custom Format pop-up. Each field can be referenced by the column number assigned to it, and wrapped in braces { }.
- On the Field Mapping tab, under Format, select CUSTOM. The Edit Custom Format pop-up appears.

- Enter the text you want to appear in the field.
Important: Do not add quotation marks or CDATA statements. The Patron Import Converter inserts the necessary CDATA statements into the XML file.
- Click OK.
Examples: - To reference the districtid in the image below, you would type {3} in the Edit Custom Format pop-up.

- Let's say Field 13 in your CSV file contains the homeroom number, and Field 6 contains the homeroom adviser. To reference both in Destiny's Homeroom field, enter the field numbers, surrounding them with braces:
{6} {13} .
Result: A patron with adviser Jones in homeroom 25 will show "Jones25" in Destiny's Homeroom field.
- You can also combine literal characters and field numbers. To see "25 – Jones" in Destiny's Homeroom field, enter {13} – {6}.
- To reference the districtid in the image below, you would type {3} in the Edit Custom Format pop-up.
You can define what action the Patron Import Converter will take when it encounters an empty CSV field.
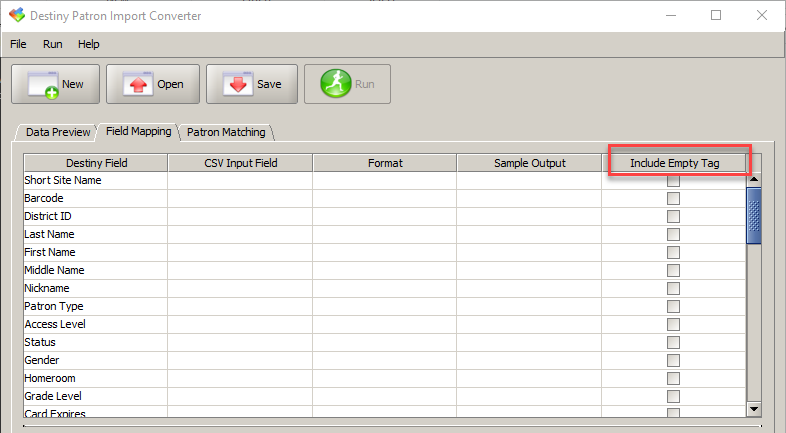
To define the action for an empty field:
On the Field Mapping tab, do any of the following:
| If you want to... | Then... | |||
|---|---|---|---|---|
| Keep the existing value |
Ensure the checkbox in the Include Empty Tag column is not selected. Nothing is inserted in the XML file, thus preserving the existing value in Destiny. |
|||
| Clear the existing value |
Select the checkbox in the Include Empty Tag column. This inserts an empty field.
|
|||
| Insert the contents of another field |
Use the ISEMPTY command.
|
To work with parts of a field in the Patron Import Converter, use the SUBSTRING command.
| Important: Working with substrings can be complicated and may require trial and error. |
|
Notes:
|
- On the Field Mapping tab, under Format, select CUSTOM. The Edit Custom Format pop-up appears.

- Enter the SUBSTRING command you want to use. (See examples below.)
Important: Be sure to specify all parts of the command in this order:
- The field number
- The SUBSTRING command
- The letter or number to start at (counting from left)
- The number of characters to use from that starting point
-
Click OK.
Examples:
- Field 5 contains the data 1234567890. You want to start at position 4 and keep 2 of the characters. In the Edit Custom Format pop-up, enter {5, substring (4,2)}. The Destiny field will show 45.
- Field 5 in your CSV file is a phone number, but you want Destiny to show the area code, prefix, and line number separated. In the Edit Custom Format pop-up, enter:
({5,substring (1,3)}) {5,substring (4,3)}-{5,substring (7,4)}.
What does it mean?
- area code ({5,substring (1,3)}): Within literal characters for parentheses, the first substring tells the converter to read Field 5 starting at character 1, and then keep 3 characters.
- Then a space is added as a literal character.
- prefix {5,substring (4,3)}: The second substring tells the converter to read Field 5 starting at character 4, and then keep 3 characters.
- Then a hyphen is added as a literal character.
- line number {5,substring (7,4)}: The last substring tells the converter to read Field 5 starting at character 7, and then keep 4 characters.
Result: In Destiny, the patron record would show the formatted phone number: (123) 456-7890.